

UArchitects, designers, and end clients all agree: in drywall, the finish is everything. And joint treatment is where it all starts. Poorly treated joints crack, show shadows, or become visible under lighting.
At Grupo Contreras, we know flawless finishes aren’t luck—they’re the result of solid technique, good materials, and strict execution. Here’s how we make sure our drywall joints look seamless every time.
What Affects the Final Finish?
- Type of board (standard, fire-rated, moisture-resistant, etc.)
- Ambient temperature and humidity during application
- Direct lighting over walls or ceilings
- Previous installation accuracy (alignment, screw depth, spacing)
Our Process Step by Step
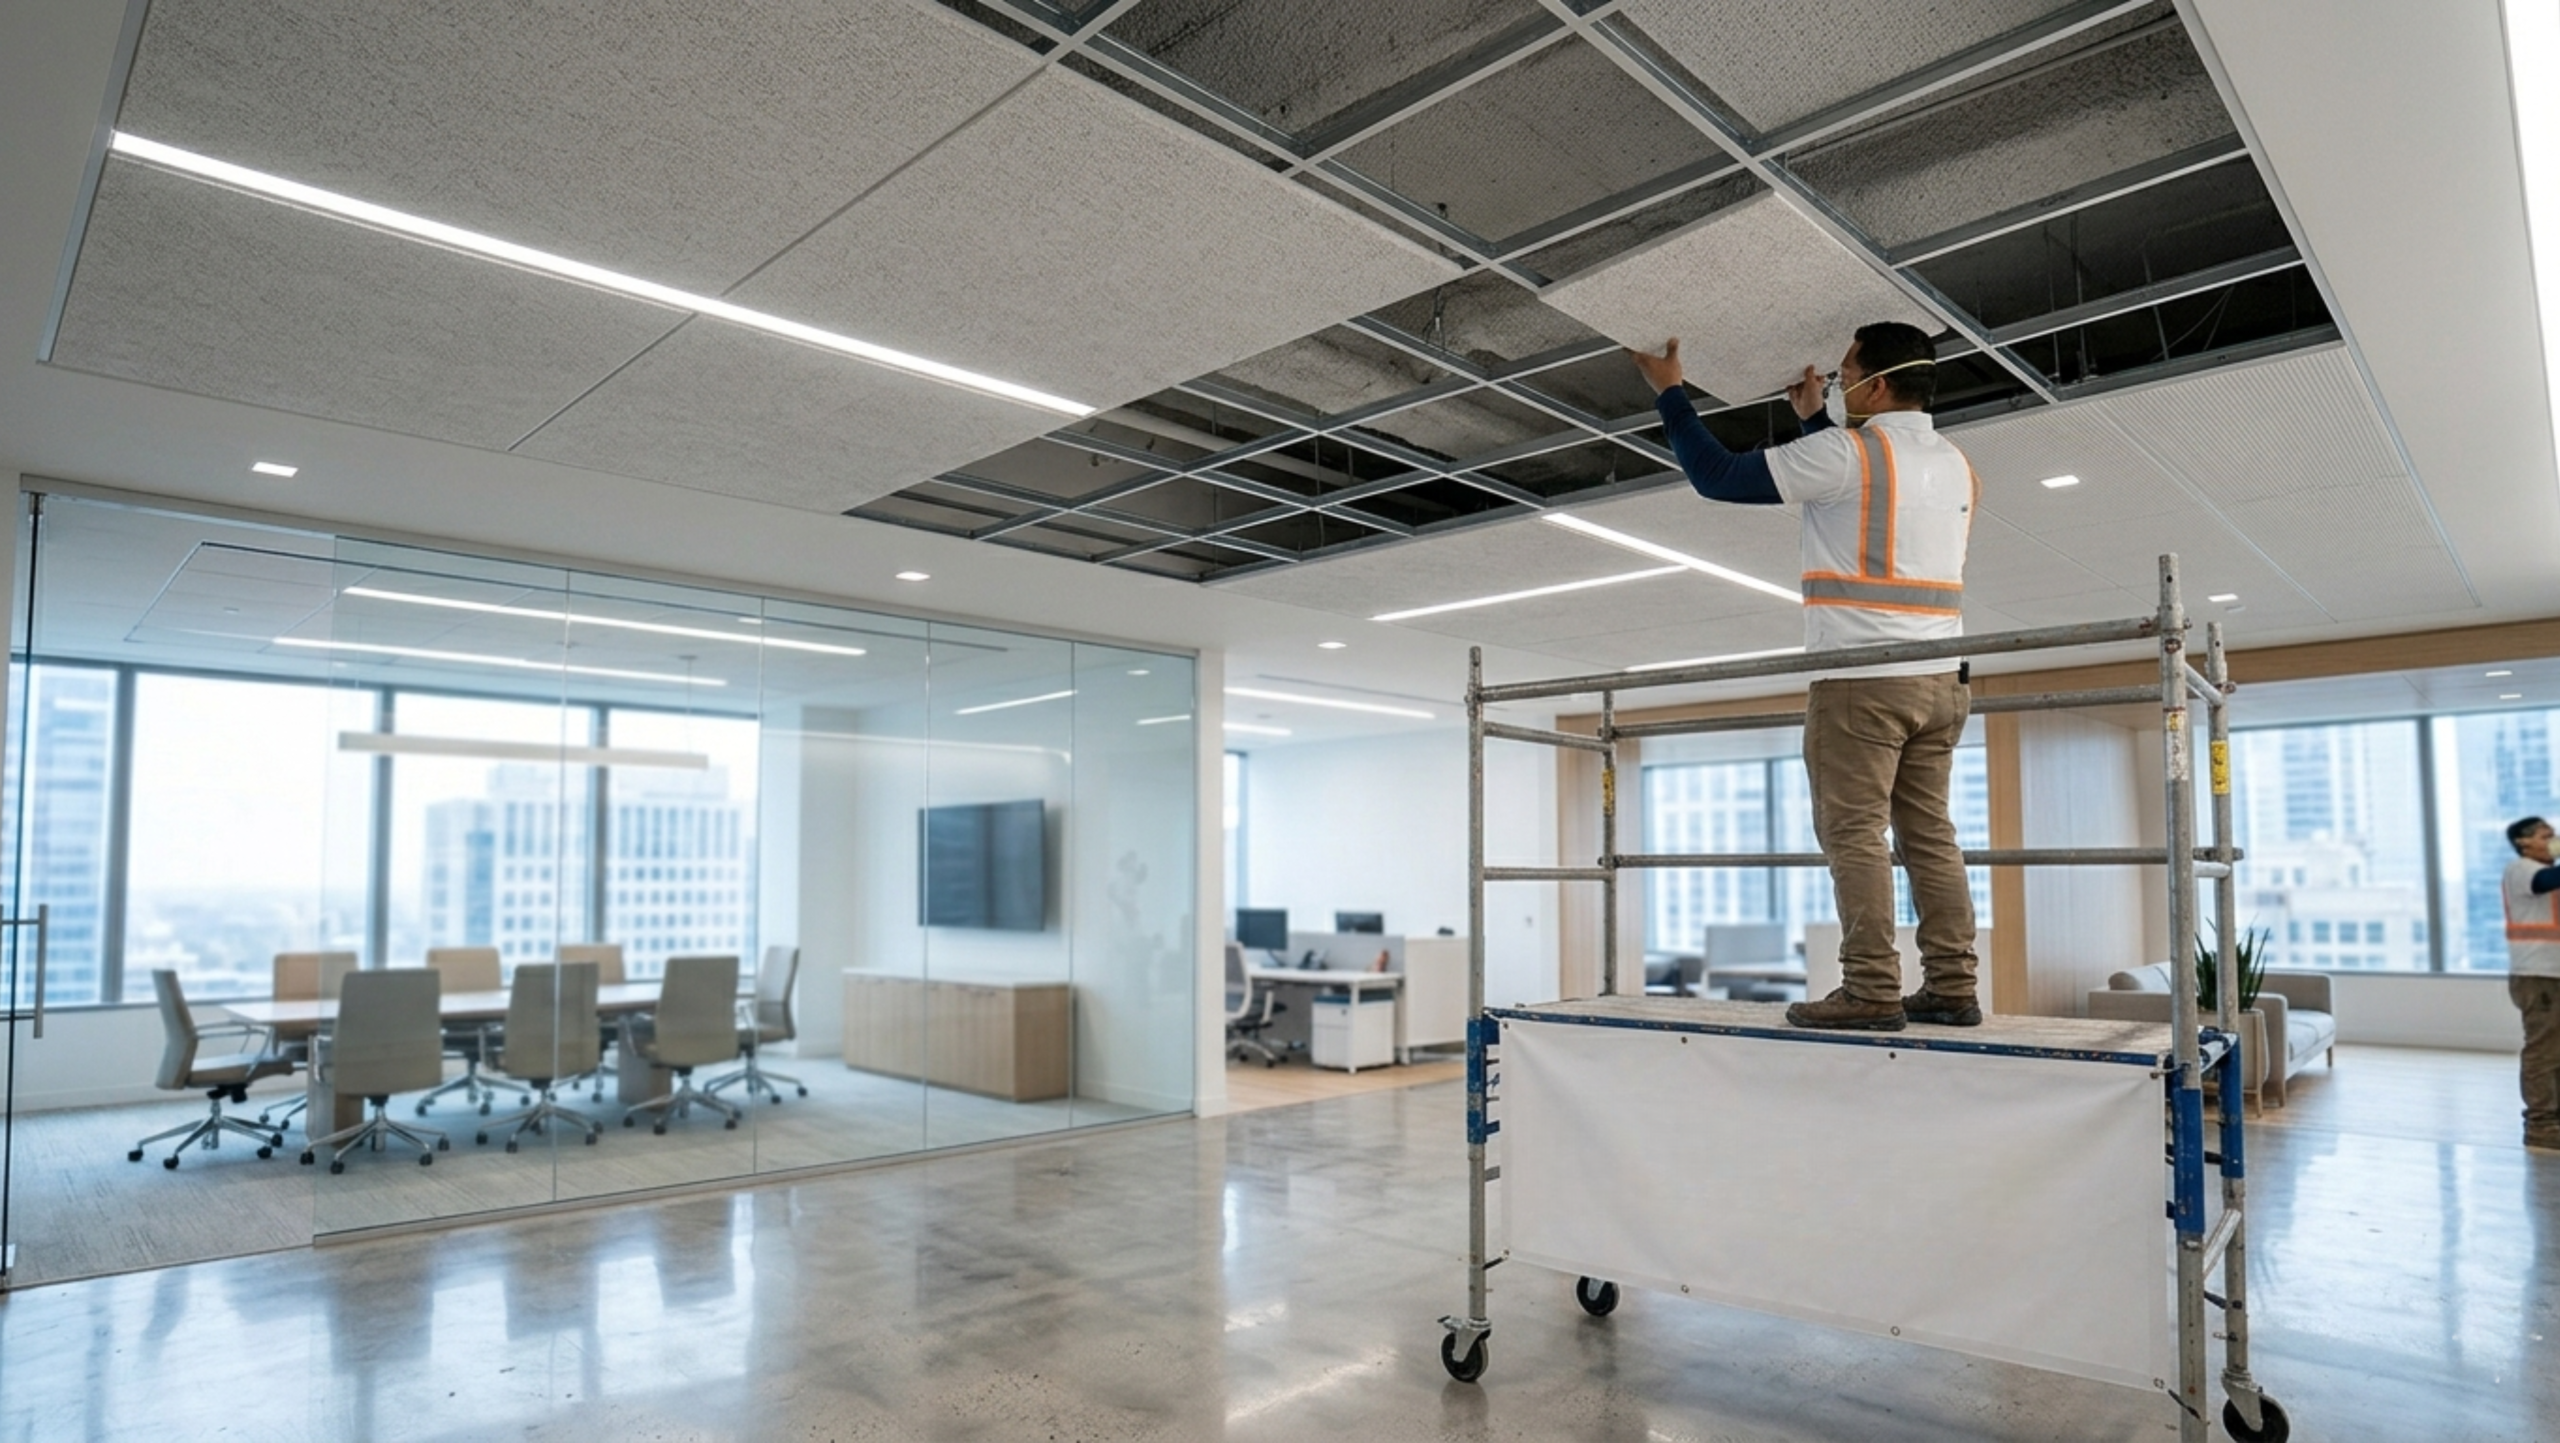
1. Pre-Inspection
Before applying the compound, we check:
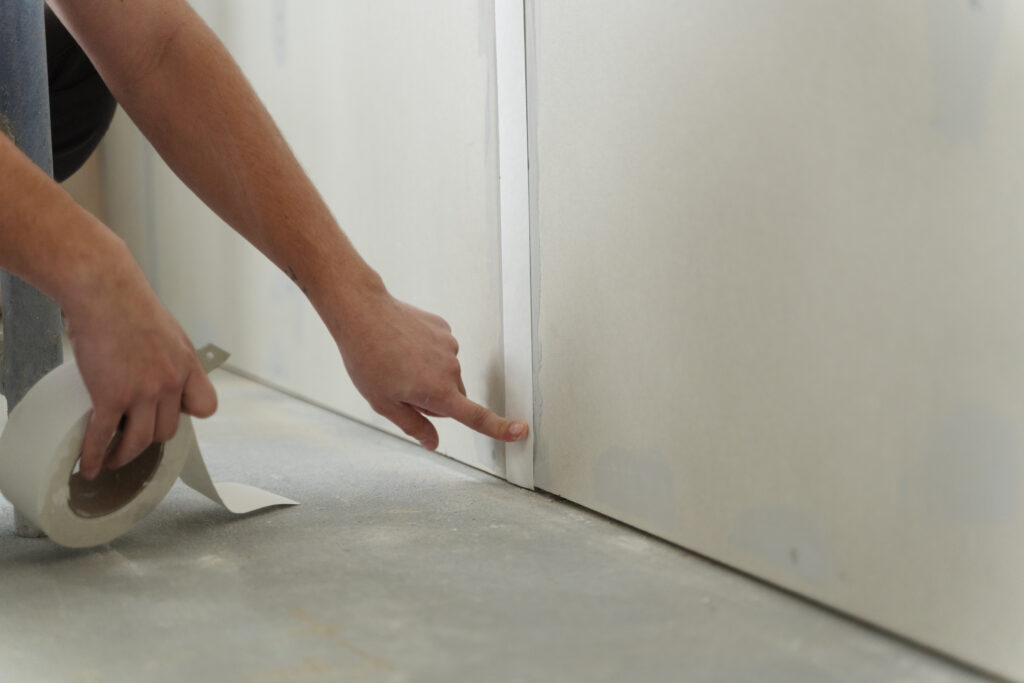
● Board edges are flush and even
● No screw heads protrude
● Gaps between boards are appropriate (not too tight, not too wide)
2. First Coat
We apply the first coat using paper tape (never mesh, which can crack). This layer bonds the joint securely.
3. Full Drying and Gentle Sanding
We never rush. Each layer must dry completely before sanding and proceeding. This avoids bubbling or cracking.
4. Second and Third Coats
Each coat extends wider than the last, feathering out the seam. The final coat is applied with wide blades for a smooth transition.
5. Final Sanding and Raking Light Check
We use angled light to check for hidden imperfections. This step is key to moving from “okay” to flawless.
Additional Tips That Make a Difference
- ✅ We only use high-quality compound and clean tools
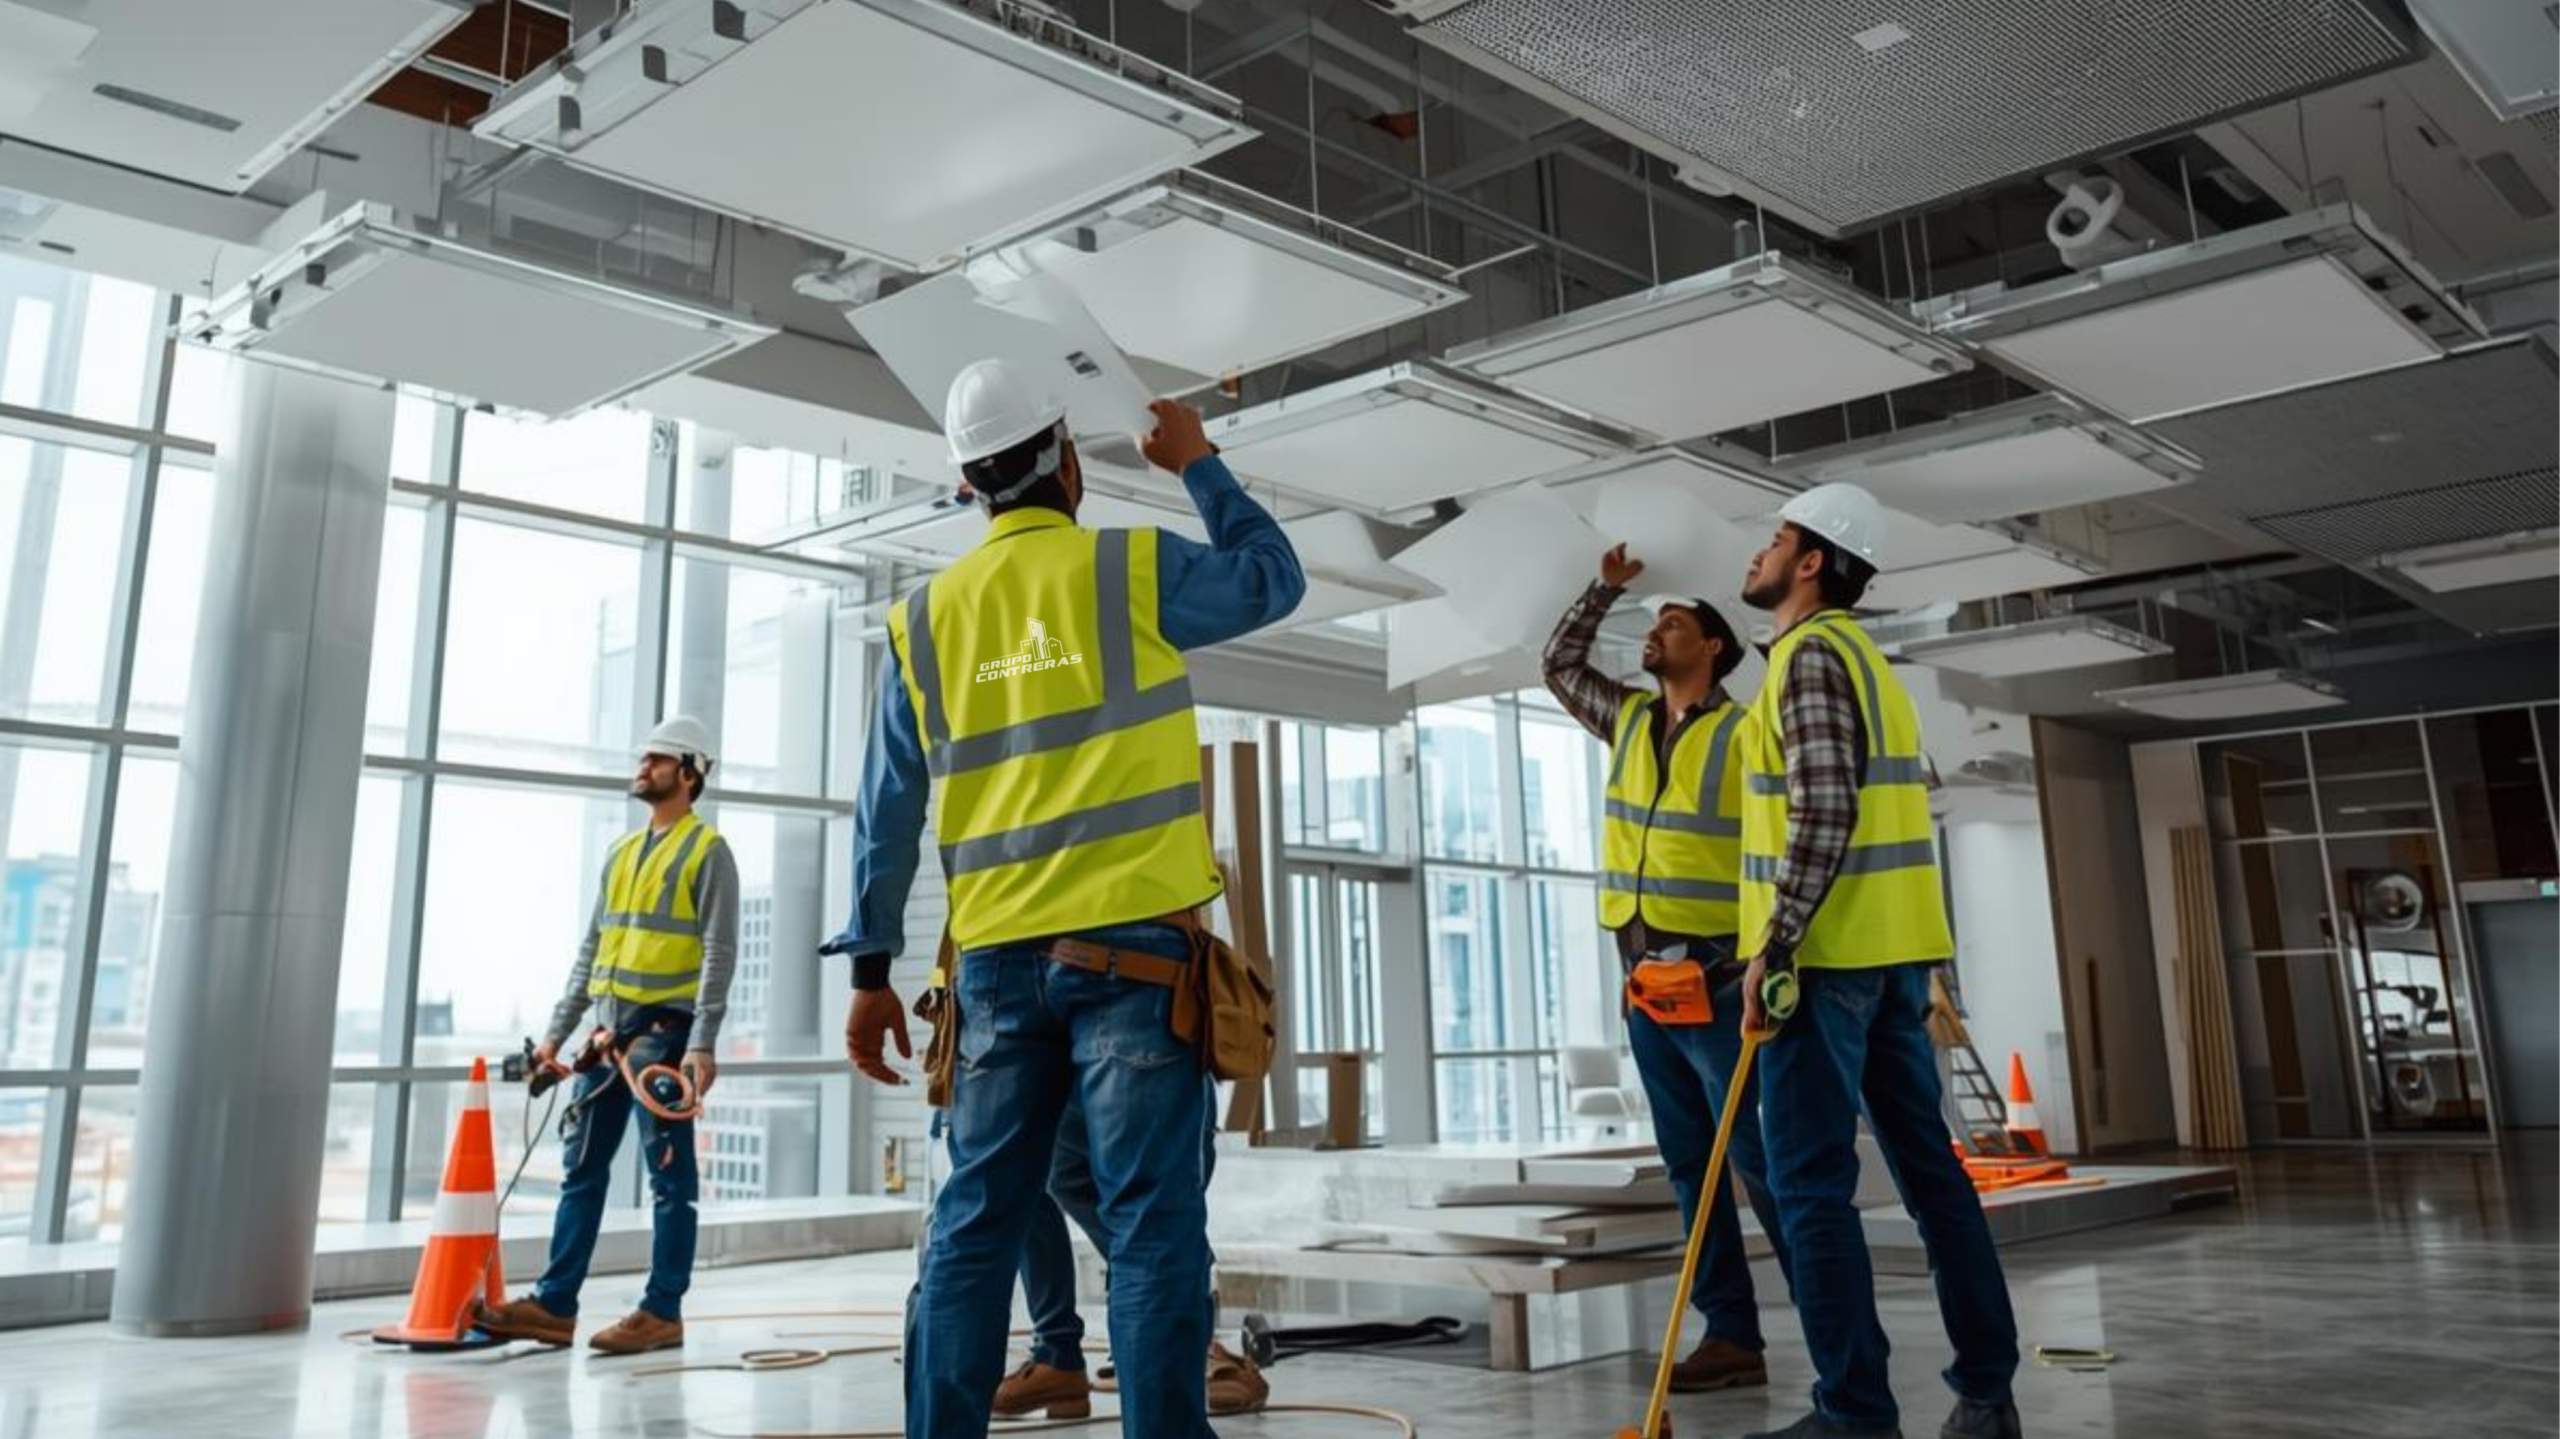
- ✅ We train our installers and finishers regularly
- ✅ We coordinate with the GC or owner on expected finish (flat paint, eggshell, Level 5, etc.)
A wall with no seams, shadows, or cracks isn’t magic—it’s method. At Grupo Contreras, we apply that method every time. If you want a paint-ready surface from the start, we’ve got your back.
![]()